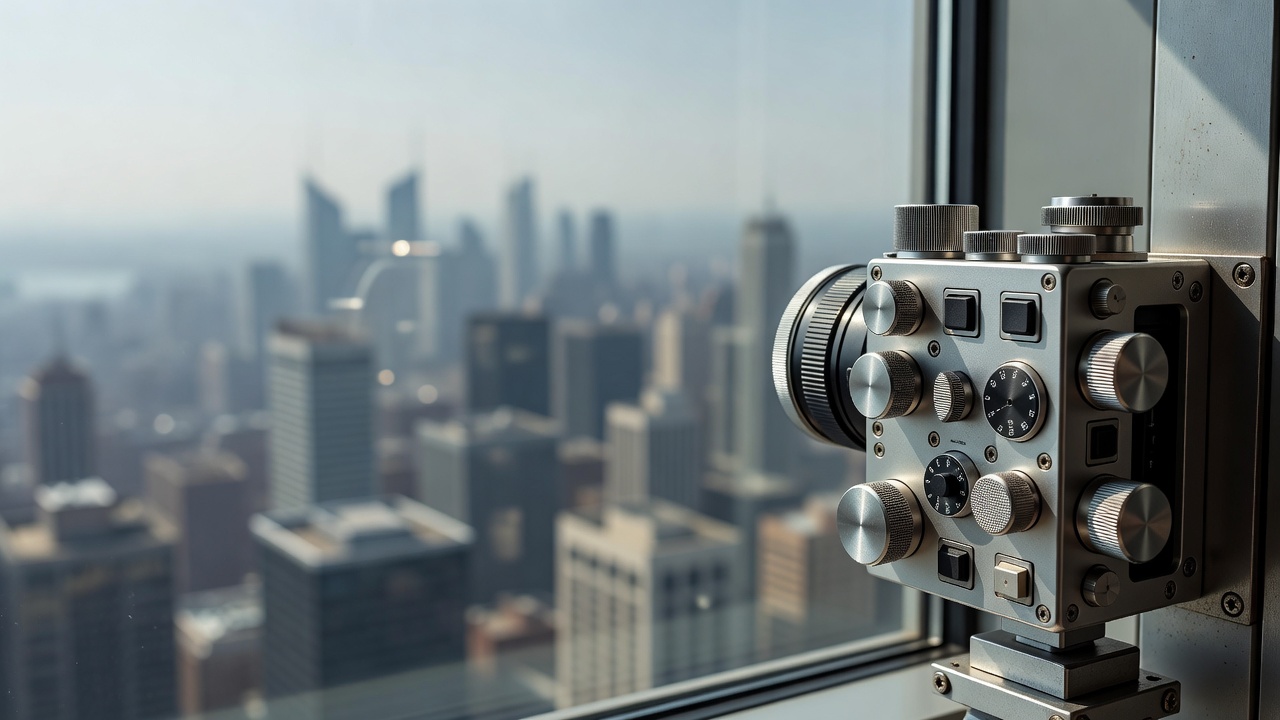
A city observation deck turns transport, architecture and light into a single visit. It may be simpler to reach than a mountain trail, but it still rewards planning. Decide whether you want to recognise landmarks, photograph a particular building or watch the city change after sunset. Each aim suggests a different direction, arrival time and tolerance for crowds. The highest available platform is not automatically the most useful one.
Choose the subject before the deck
If you want a famous tower in your photograph, standing inside that tower may not provide the composition you imagined. Think about which landmark should appear in the frame and from which side. A lower terrace, riverside path or public park can sometimes explain the skyline more clearly than a high deck directly above it. Confirm that any alternative viewpoint is public and open at your intended time.
The Empire State Building in New York, Tokyo Metropolitan Government Building observatories and Sky Garden in London illustrate different kinds of urban viewing experiences. Their entry systems, security arrangements and available spaces are not the same. Check the exact operator information for the deck, date and session rather than relying on an old ticket description or a traveller’s photograph.
Leave room for entry and equipment rules
A timed entry is not necessarily the moment you will reach the window. Security, queues, lifts and orientation all take time. If a particular light window matters, allow a practical margin without assuming the operator permits unlimited early arrival or an extended stay. Read the terms attached to your booking and verify any restrictions that affect your plan.
Tripods, large bags, external flashes and professional equipment may be restricted. Do not assume that a small support is allowed because a full-size tripod is not. Ask before carrying specialist gear across the city. If you need step-free access, check the whole route from the entrance through security and lifts to the actual viewing position, including toilets and any outdoor section.
Work backward from the available light
Sunrise and sunset times are useful reference points, not guarantees of a particular colour or skyline. Buildings, cloud and haze change how the light reaches the scene. A west-facing window may look toward the setting sun rather than the evenly lit buildings you hoped to photograph. Work out the viewing direction and choose the kind of contrast you are comfortable with.
- Before booking
Match the viewing direction to the subject, then check session rules and access.
- On arrival
Observe glare, interior reflections and the movement of visitors before choosing a position.
- As daylight fades
Adjust for slower shutter speeds, keep passing space clear and preserve time for the journey home.
There is no universal camera setting for city views. Moving traffic, bright signs and shaded buildings can demand different compromises. Start with a stable handheld position and check the result at a useful magnification. Raise sensitivity when needed rather than assuming a long exposure is possible. A phone can make a thoughtful frame; complicated equipment does not replace a good position and patient observation.
Manage glass without touching the boundary
Interior lights and pale clothing can reflect in observation windows. Switching off your flash and adjusting your angle may help. Move closer only where permitted, without pressing equipment against glass or leaning into restricted space. Avoid covering fixtures, obstructing vents or using an improvised fabric screen that gets in other visitors’ way. Some coatings and multiple glass layers will still affect the image.
On an open-air deck, barriers and mesh are part of the safety design. Do not put a camera, phone or hand through an opening to avoid them. Try a different permitted position, a tighter composition or an image that includes the structure honestly. Secure your device and never rest it on the outside of a rail.
Keep the city journey in the plan
Night photography continues after the viewing session ends: there are lifts to descend, transport connections to find and unfamiliar streets to navigate. Check the return route while you have time and battery. Keep valuables controlled and avoid blocking narrow pavements while reviewing photographs. If visibility disappoints, use the visit to notice street patterns, rooftops or architectural details rather than forcing a distant panorama.
Primary starting points include the Empire State Building observatory website, Tokyo’s official travel guide and Sky Garden. Confirm current entry and equipment rules with the relevant operator. These examples are independent planning references, not endorsements or promises of availability.
Access note: will an indoor deck always have an unobstructed view?
No. Window framing, seating, crowds and the height of the glazing or rail can affect the viewing position. Ask about the actual sightline from your seated or standing height if that matters to your visit.