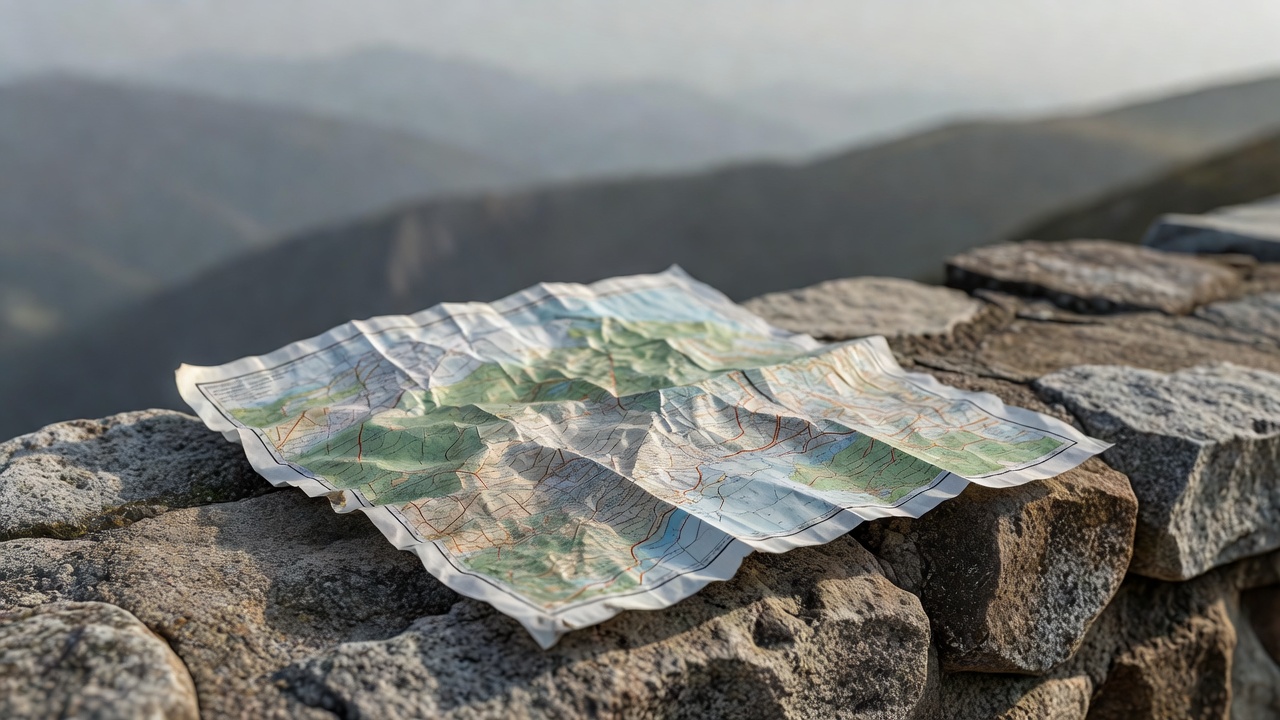
Mountain viewpoints compress a large landscape into a small decision: which platform, path or ridge should you choose? A famous name can help you find the region, but it cannot tell you whether that particular visit fits the day. Start with your group’s mobility, comfort with exposure and tolerance for cold. Then compare the approach, the forecast and the return journey. A lower terrace with clear air may give a more satisfying experience than an upper platform inside cloud.
Separate arrival from the final approach
A cable car or mountain railway changes the journey; it does not make every part effortless. There may still be stairs, uneven ground, exposed viewing areas or a walk between stations. At Seceda in the Dolomites, distinguish the lift arrival area from any onward ridge walk. Do not assume a photograph taken beside a narrow path represents the only viewing position, or one suitable for everyone.
The Aiguille du Midi above Chamonix illustrates another distinction: mechanical access does not remove altitude. Cold, wind and reduced oxygen can affect visitors even without a strenuous climb. Follow the operator’s health guidance, consider relevant medical advice before travel and do not treat discomfort as something to push through for a photograph. Operating decisions can change with mountain conditions.
Read the atmosphere, not just the rain icon
A dry forecast is not a promise of a distant view. Low cloud may wrap around an upper station while the valley remains clear. Haze can flatten layers that appear crisp in a promotional image. Wind at elevation can differ substantially from wind in town. Consult a mountain-specific forecast where available and compare it with current operator information. A webcam can add context, but its timestamp and viewing direction matter.
At the Gornergrat above Zermatt, think about what you want to see and which direction you will be looking, rather than treating the railway journey alone as the plan. At Pikes Peak in Colorado, check the chosen access operator’s current arrangements and take altitude seriously. These places have different systems and environments; the transferable habit is to verify locally instead of borrowing assumptions from another mountain.
Keep the decision reversible. Choose a lower alternative before leaving. If cloud, wind or your group’s comfort changes, switching plans should feel like good preparation rather than a failed outing.
Budget the descent before the photograph
Write down the last usable return connection and allow for queues, station walking time and an earlier personal turnaround. A lift closing time is not a target arrival time. If you are walking, the descent may be slower than expected on loose rock, wet steps or tired legs. Keep a daylight margin and avoid building a plan that depends on maintaining a fast pace throughout.
Pack layers, water, suitable footwear, a charged phone and an offline route reference appropriate to the trip. A downloaded map is useful but does not replace navigation skills on a mountain trail. Tell someone your intended route when the setting warrants it. Follow closures and stay away from edges, snow patches or unstable ground that fall outside your experience.
Photograph depth without adding exposure
Ridges are often strongest when the image includes a nearby reference: a permitted path, a section of stone wall or plants beside a designated platform. Keep the camera position within the safe area. A longer focal length can isolate distant layers without requiring a more precarious stance. Secure loose equipment and do not place bags where another visitor might trip.
Light also changes the story. Side light can separate folds in the terrain; overcast conditions can reveal rock and vegetation without harsh contrast. If cloud removes the horizon, look closer rather than moving toward an unsafe edge in search of a gap. Never step onto fragile alpine vegetation to improve a foreground.
Make the final check locally
Before committing, confirm the route or facility status with the relevant land manager, tourism office or transport operator. Useful starting points include Chamonix’s official tourism information, the Gornergrat operator and Pikes Peak visitor information. Look for notices specific to your date and access method. Our examples explain planning decisions, not current openings, fitness requirements or guaranteed views.
Access note: what should I ask a mountain operator?
Ask about the full arrival-to-platform route, stairs, lift availability, seating, accessible toilets, wind restrictions and return procedures. Give your actual requirements rather than relying on a general accessibility label.