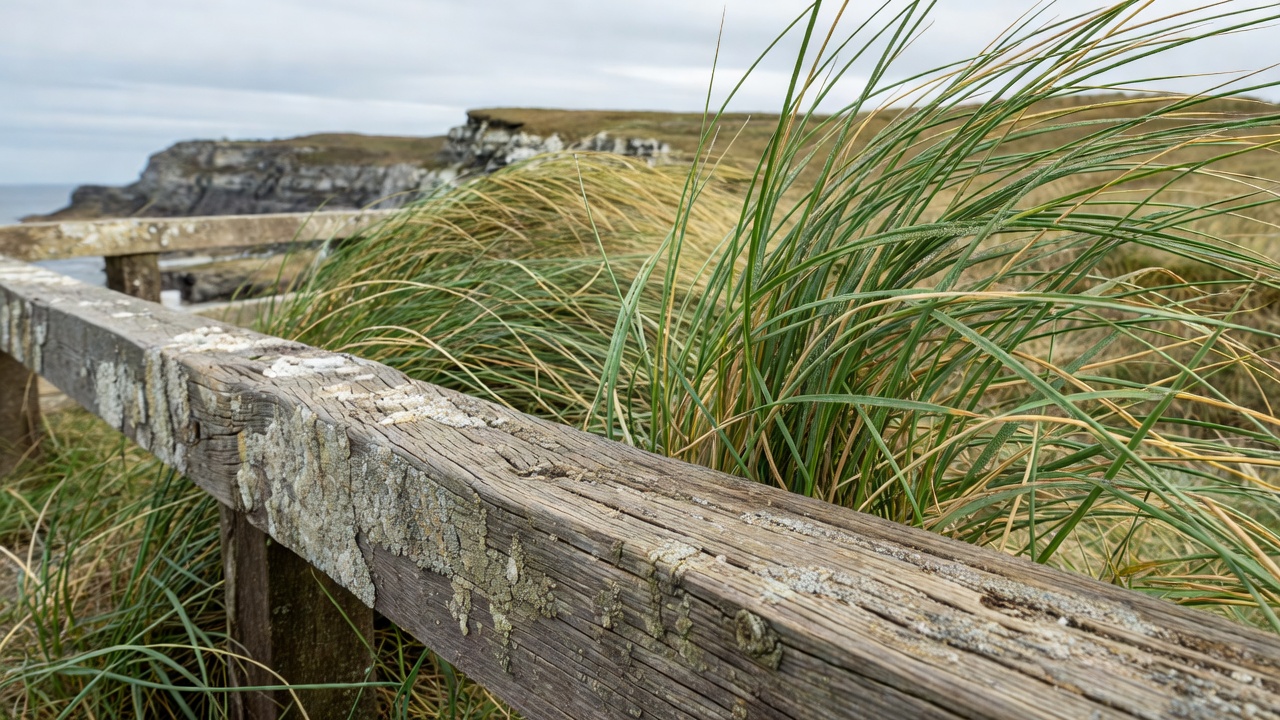
A coastal panorama is often easiest to enjoy from a managed platform rather than the most dramatic-looking edge. The ocean draws attention outward, but the important decisions begin close by: the state of the path, the strength of the gusts and the location of the safe viewing boundary. Choose a route that suits everyone in your group, and be willing to shorten it before discomfort becomes a problem.
Choose a managed outlook before a cliff walk
At the Cliffs of Moher in Ireland, separate the main visitor experience from longer paths in the surrounding area. Access arrangements and path conditions can differ, and individual sections may close. A familiar destination name is not evidence that every connecting route is currently available. Check the official destination information and the responsible local authority for the exact section you intend to use.
Cabo da Roca in Portugal provides another useful reminder: a viewpoint can be close to a road and still be exposed. Remain within designated areas, keep children close and follow barriers and warning signs. Do not use the position of other visitors as a safety assessment. An informal track beyond a barrier is not an invitation, even if it appears in photographs or route-sharing apps.
Treat wind as more than a comfort issue
Wind affects balance, equipment and your ability to move comfortably. Gusts can be stronger around exposed corners than they felt in the car park. Loose hats, umbrellas and unsecured camera straps add distractions. If the wind makes it difficult to stand or communicate, choose a sheltered alternative or leave. There is no universal wind threshold that makes every cliff path safe; local warnings and your group’s circumstances take priority.
Keep tripods out of narrow routes and do not leave equipment standing unattended. A camera bag should not become an obstacle at a viewing rail. Secure belongings before approaching the designated observation area, then stop moving while composing. Walking backward to widen a photograph is particularly unwise beside steps, traffic or a cliff boundary.
Know when tides matter to your route
A high cliff platform may not depend on tide level, but the approach or an additional beach walk might. Any route across a beach, tidal causeway or rocky shore needs specific local tidal guidance. A tide table alone does not describe wave run-up, swell or safe passage. Never infer a safe crossing window from the apparent distance to the water.
At places such as the Twelve Apostles in Victoria, follow the managed viewing routes and current park advice instead of searching for an unofficial lower angle. The landscape is shaped by erosion, and rock that looks solid may not be stable. Keep away from cliff bases where access is prohibited or falling material is a risk. A photograph cannot reveal the structural safety of an edge.
Setback is part of the view. Stay behind barriers and obey local instructions. Where a route is open but unguarded, do not improvise a supposedly safe distance from an unstable edge.
Plan for sea mist, glare and changing contrast
Sea mist can hide headlands quickly. Bright sunshine can also create strong glare that reduces detail across the water. Compare visibility and local weather observations, not just the chance of rain. At Cape Point in South Africa, check the park’s current access information and conditions before treating a clear city forecast as a reliable description of the headland.
For photography, side light often adds shape to cliffs, while a hazy horizon may work better as a simple, layered composition. A lens hood and a clean cloth can help with stray light and salt spray, but equipment care should happen away from exposed edges. Do not move onto wet rocks or beyond a rail to avoid a reflection or include more foreground.
Leave with the route still in your favour
Allow time for the return before dusk, gate closures or transport departures. Paths that feel straightforward in daylight may be less forgiving in fading light or rain. Footwear needs to suit the surface, not the short distance shown on a map. Carry a layer even when the arrival point feels warm, and keep a landward alternative in mind if the exposed section is unsuitable.
Check primary sources such as the Cliffs of Moher visitor website, Parks Victoria and South African National Parks. Find the relevant destination notice rather than assuming a general tourism page describes today’s route. These examples are planning references, not live access confirmations.
Access note: what if the cliff path is closed?
Do not bypass the closure. Ask the operator or local visitor information service about an open managed viewpoint. A shorter landward walk or another day may be the appropriate alternative.